How do I configure PuTTy to connect to MSI Unix systems?

- Download and install PuTTY.
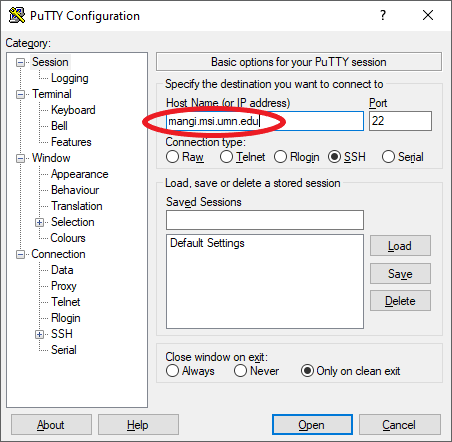
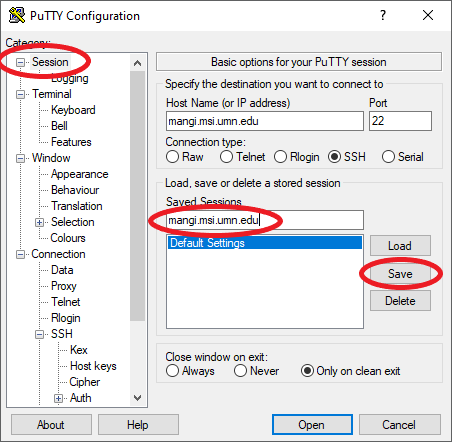
- Double-click on the PuTTY icon and a "PuTTY Configuration" window will pop up (as shown in the image below). In the "Host Name (or IP address)" box, enter: resourcename.msi.umn.edu, replacing resourcename with your desired MSI resource (such as mesabi, mangi, etc).
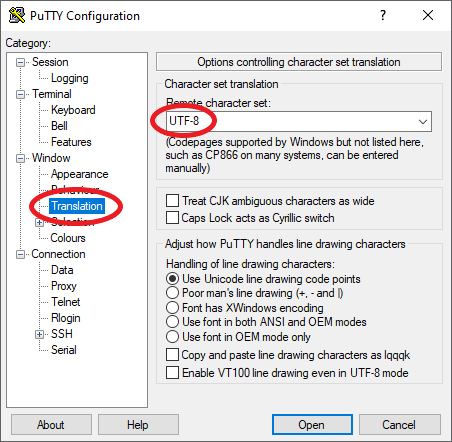
- In the left panel, under Window, select "Translation". Ensure the "Remote character set" is UTF-8
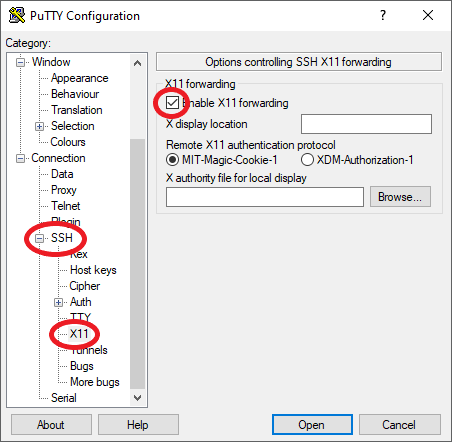
- [This step is optional. It is required only if you wish to use programs with a graphical interface. Under the "SSH" category, select "X11". Check the box next to "Enable X11 forwarding". (Make certain you have a local X client for Windows such as Xming configured, or this step will have no effect and X programs will not be able to open the display.)
- Return to "Session" in the left panel and in the "Saved Sessions" box, type in the name you would like to use to refer to this session, then click "Save".
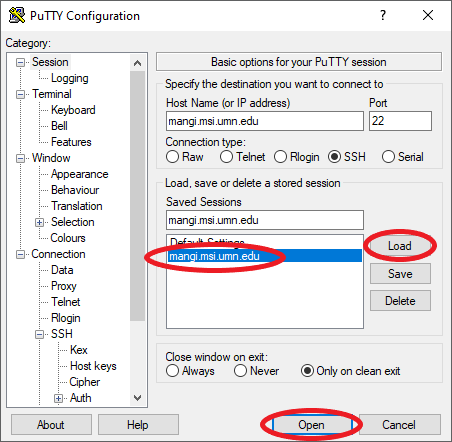
- The next time you start PuTTY you will be able to recall a saved profile by clicking on the name and then clicking on "Load". Click on "Open" to start the connection.
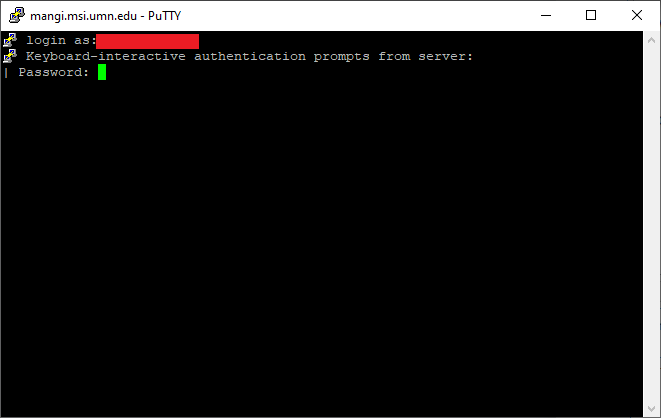
- The first time you connect to a server you may be asked to cache the server fingerprint. This is a safety feature of ssh. Go ahead and click "Yes" for now. You may be asked twice.

- You will be asked for your password. You can avoid entering it again when connecting to another server when using ssh keys; please see the ssh keys page for instructions if interested.
- PuTTY is now configured to connect to MSI's login node. From here, you can ssh to MSI's HPC clusters.