Overview
In a Jupyter Notebook, there are some cases where you may need a specialized software stack that does not work with the default Python environment. The vast majority of cases only require that you set up a custom environment for your set of modules. An example of that can be found here.
The example below demonstrates how to launch a python environment encapsulated within a Singularity (also known as Apptainer) container. In this example, we launch python from within a Singularity container on an Agate node in the A40 partition. The container is based off of Ubuntu 20.04, and includes a stack of software for performing GPU-accelerated simulations of Quantum Circuits using IBM Qiskit, Google Cirq, ProjectQ, and QuTiP.
MSI Features Used in This Example
- Agate cluster
- A40 GPU
- Interactive GPU partition
- JupyterLab Interface
- Open OnDemand
- Singularity (Apptainer)
Find the procedure in the tabs below
- 1. Build or Locate a Singularity Image
- 2. Make the Custom Kernel Selectable by Assigning a Display Name
- 3. Edit the Kernel Description File
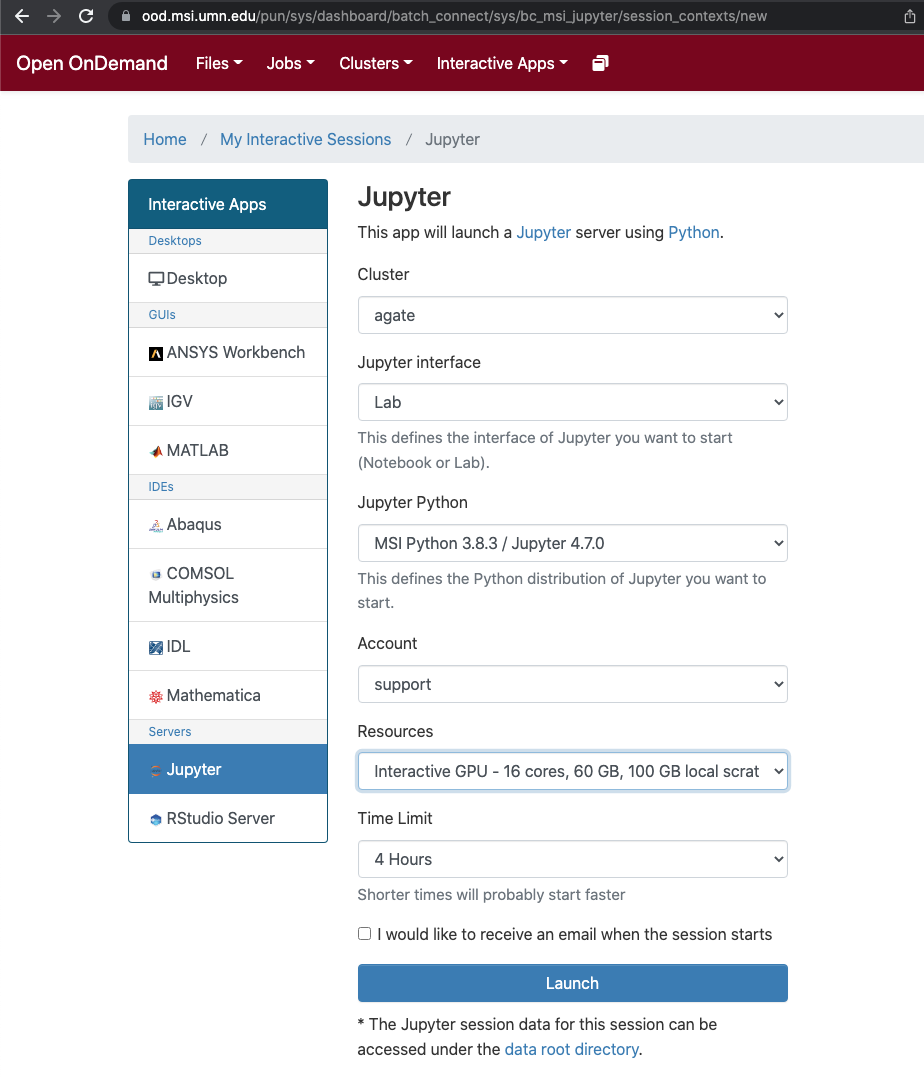
- 4. Launch a Notebook on an A40 Node
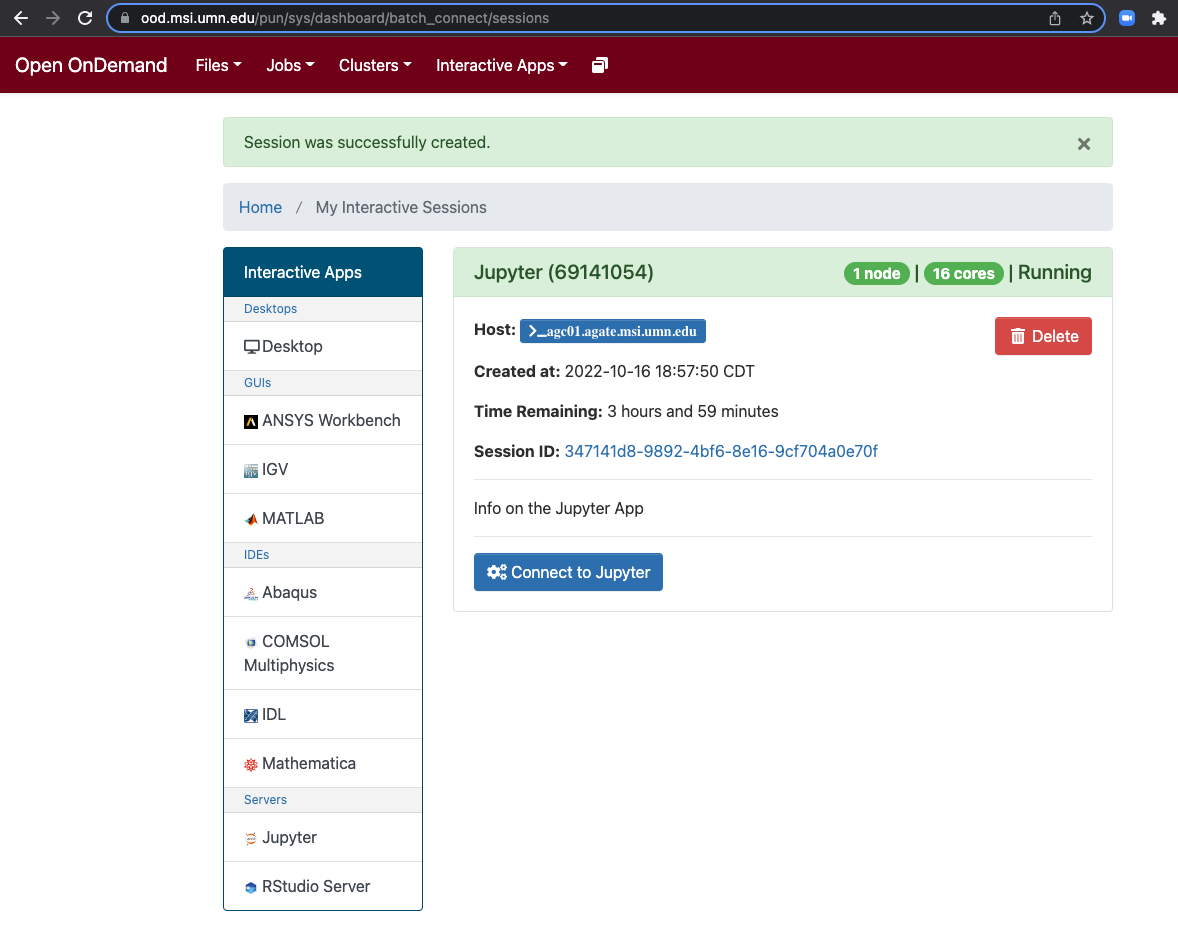
- 5. Connect to Jupyter Notebook
- 6. Select kernel
For the example below, you can use a public singularity image provided. The definition file for this example image is also provided, so you can build the image yourself. If you have never used Singularity before, please start here.
To build the image yourself, you can start with a Singularity Definition File like this one. The Definition File contains all the software packages (including JupyterLab) that are needed. If you are running singularity on your laptop, you can build a new image with the command:
singularity build my-new-image.sif my-definition-file.def
If you setup an account with a remote build tool, you can execute a command like this from MSI machines, or your laptop:
singularity build --remote my-new-image.sif my-definition-file.def
Create a skeleton .json file for the python kernel that you want to run from a Singularity container.
python3 -m ipykernel install --user --name singularity-qiskit --display-name "Python 3.8 Singularity QISKIT"
In a shell (through OnDemand or ssh) open the file
~/.local/share/jupyter/kernels/singularity-qiskit/kernel.json {
"argv": [
"/usr/bin/singularity",
"exec",
"--nv",
"-B",
"/home/mygroup/myuname:/home/mygroup/myuname",
"-B",
"/panfs/roc:/panfs/roc",
"-B",
"/panfs/jay:/panfs/jay",
"https://public.s3.msi.umn.edu/singularity-images/quantum-oct-2022.sif",
"/usr/bin/python3",
"-m",
"ipykernel",
"-f",
"{connection_file}"
],
"interrupt_mode": "message",
"display_name": "Python 3.8 Singularity QISKIT",
"language": "python"
}
In the example above, replace /home/mygroup/myuname with your home directory.
After you have a singularity image, note the location. It can be placed somewhere on Primary storage (home directory or group project space) or it can be placed as a publically accessible object on an S3 bucket. For example, https://public.s3.msi.umn.edu/singularity-images/quantum-oct-2022.sif
From OnDemand,
Connect to the Notebook
After you connect to the notebook, you should be able to see the Display Name you set for your kernel in step 2. Select that kernel when you start a new notebook.